Settings
You can configure various settings in BusyContacts > Settings (also known as "Preferences" on earlier macOS versions).
Some images in our online documentation may appear outdated as BusyContacts continues to evolve over time. However, the core functionality mentioned in the documentation still applies.
General
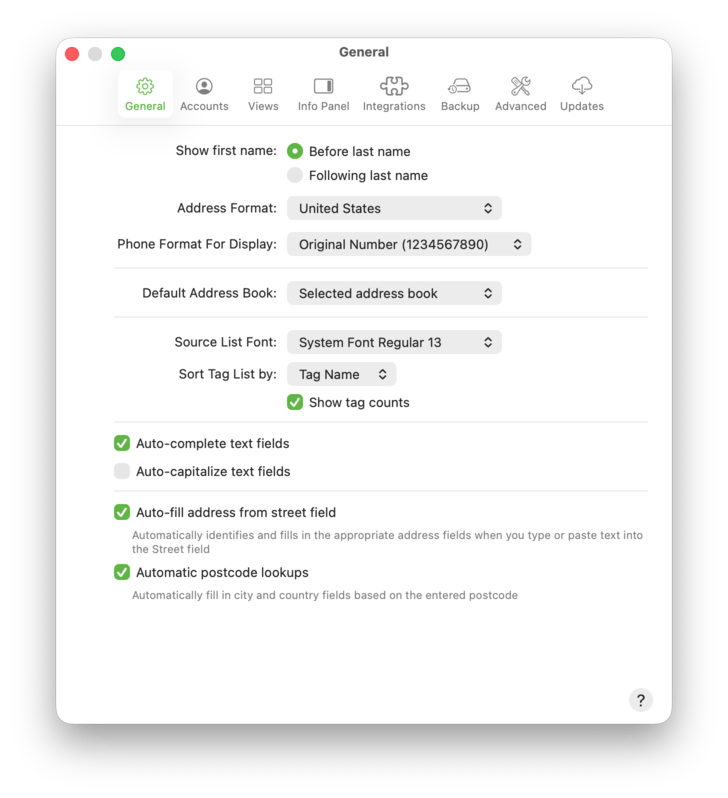
The General tab provides the following options:
- Show first name: Before/Following last name — Controls how Names are displayed in the Card View and the List View (e.g., "Tim Cook" or "Cook Tim"). Note: Sorting of Names (First Last or Last First) is configured in the Views tab.
- Address Format — Controls the address formatting in the Info Panel based on the region selected.
- Phone Format For Display — Controls how phone numbers should be displayed within the app (when not in edit mode). Select between original, minimal, international and national formats. This affects display only (not the stored value). See Phone numbers don’t look right.
- Default Address Book — Defines which address book new contacts are created on. See Address Books for more info.
- Source List Font — Controls the font and size of the Address Books and Tags displayed in the source list.
- Sort Tag List by — Controls the sort order of the Tags displayed in the Tag List.
- Show tag counts — Displays the count for each of the Tags in the Tags List.
- Auto-complete text fields — If enabled, when creating a new contact or editing an existing contact, many fields will auto-complete when typing based on matching records in your database. For example, typing "ap" in the Company field will auto-fill "Apple, Inc.".
- Auto-capitalize text fields — If enabled, each field will be capitalized automatically when entering text and pressing the Tab key.
- Auto-fill address from street field — If enabled, BusyContacts will try to automatically fill in the rest of the address fields when you type or paste a street address into the Street field.
- Automatic postcode lookups — If enabled, BusyContacts will try to automatically fill in city and country fields based on the postcode you enter.
Accounts
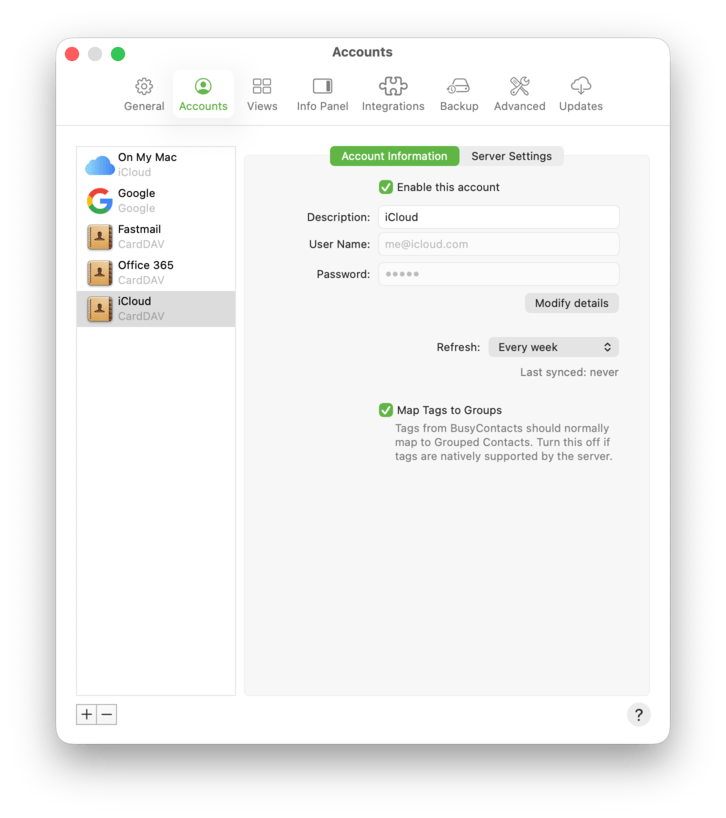
The Accounts tab is used for adding, removing and editing server accounts, and provides the following options:
- Plus (+) button — Click the Plus (+) button to add a new server account.
- Minus (-) button — Select an existing account and click the Minus (-) button to disconnect from it. When doing so, all of the contacts on that account will be removed from BusyContacts but remain intact on the server.
- Account Information / Server Settings — When selecting an account in the left sidebar, various fields will appear that are specific to that account, such as the account's username and password.
- Enable this account — Temporarily disables syncing for the selected account without removing it.
- Refresh — You can set how frequently you wish to check for changes on each account using the Refresh menu. Push is only supported by Exchange and iCloud. Note that for an iCloud account, Push will only be available if you have given BusyContacts access to your Contacts Address Book (see System Settings > Privacy > Contacts) and your iCloud account has been added to Contacts.app. The Refresh setting only affects how often BusyContacts checks for changes on the server. When editing contacts in BusyContacts, those changes will be pushed to the server immediately.
- Map Tags to Groups — If enabled, Tags from BusyContacts will map to grouped contacts when the server supports groups.
See Syncing with a Server for more info.
Views
The Views tab is used for configuring the sort order in both Card View and List View, and choosing the columns to display in List View.
- Sort Card View by — Controls how contacts are sorted in the Card View (e.g., First, Last). Note: You can control how the names are displayed (Last First or First Last) in the General tab.
- Use phonetic names when available — Uses phonetic names for sorting when phonetic name fields exist on a contact.
- Group pinned contacts — Keeps pinned contacts grouped together.
- Show contact photos in list — Shows contact photos in List View.
- Use address book color for names — Shows names using each address book's color (when available).
- Show notes indicator in list — Shows an indicator in List View when a contact has Notes.
- List View Font — Controls the font and size of the List View columns.
- List View Columns — Controls which columns are displayed in List View. You can also choose which columns to display by control-clicking on the column headers in List View.
- Sort List View by — Controls the sorting of the List View. You can sort up to four levels deep in ascending or descending order. You can also choose which columns to sort by by clicking on the column headers in List View.
- Sort Name Column by — Controls how the Name column is sorted in the List View (Last First or First Last). Note: You can control how the names are displayed (Last First or First Last) in the General tab.
- List View Custom Columns — You can display up to 10 Custom Fields in the List View by entering the Custom field labels and checking them.

Info Panel
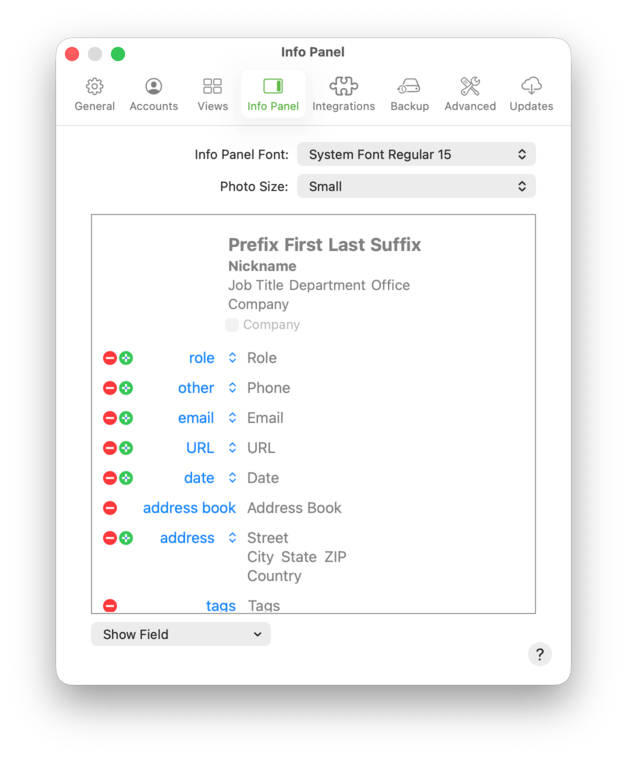
The Info Panel tab is used for configuring the default fields displayed in the Info Panel. The following controls are available:
- Info Panel Font — Controls the font and size of the Info Panel fields.
- Photo Size — Controls the size (Small, Medium or Large) of the Photo displayed in the Info Panel. Note: While viewing a contact, you can click on the photo to zoom in. So, you could set the Photo Size to Small, but still have the ability to zoom in and display a larger photo when wanted.
- Show Field — click on the Show Field menu to add a new default field to the Info Panel. When you add a field in this dialog, it will appear by default on all cards when creating or editing contacts. You can also add a field to an individual card, without making it a default field for all cards, using the add field command in the Info Panel.
- Field Label — click on the blue field label to change the default field label. For example, on the phone field you can change the default label from 'phone' to 'work'. When you change a label in this dialog, it will become the default label when creating new contacts. You can even choose a custom field label to use as the default.
- Plus (+) button — click to add an additional field of the same type (e.g. a second Phone field).
- Minus (-) button — click to remove a field. Note: removing a default field will not remove any data from existing contacts. It only affects what default fields are displayed when creating a new contact.
Integrations
The Integrations tab lets BusyContacts integrate with other apps.
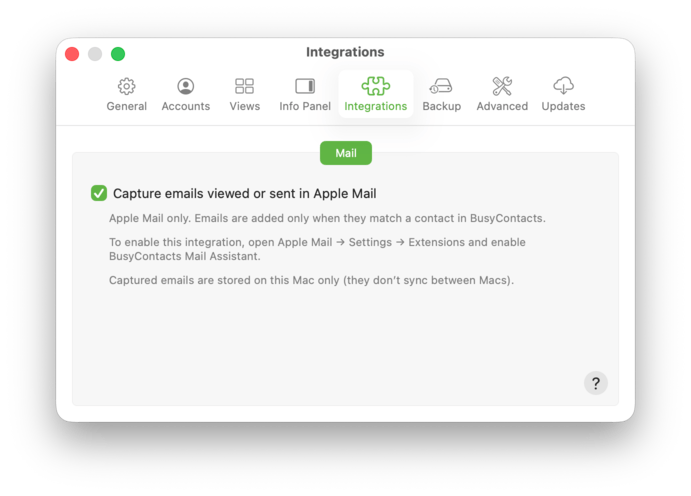
Mail (Apple Mail)
BusyContacts can capture emails you view or send in Apple Mail and show them in the Timeline for matching contacts. This uses a MailKit-based Apple Mail extension called BusyContacts Mail Assistant.
- Capture emails viewed or sent in Apple Mail — When enabled, BusyContacts captures emails that match a BusyContacts contact (it does not import your entire Mail history). Captured emails are stored on this Mac only (they don't sync between Macs).
Setup is a two-step process: enable capture here, then enable BusyContacts Mail Assistant in Apple Mail. For full instructions, see Activity List.
See this page for more details.
Backup
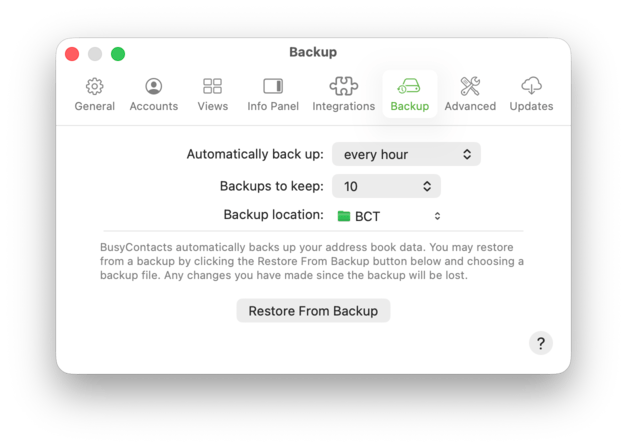
The Backup tab is used for configuring the automatic backups.
- Automatically back up — Controls how often backups are created.
- Backups to keep — Controls how many backup archives are kept when deleting old copies.
- Backup location — Controls the location where backups are stored. The default location is the BusyContacts Backups folder in the Documents folder.
- Restore From Backup — Restores your address book database from a selected backup file.
Advanced
The Advanced tab is used for various settings.
- Open maps in — Choose which mapping app BusyContacts should use when opening map links.
- Automatically link identical contacts in the background — If enabled, BusyContacts will find duplicate / identical contacts with the same name within your address books and link them together. This will allow you to view such contacts as a single virtual card across multiple address books. See Linking and Merging Cards for more details.
- Confirm changes to contacts on shared address books — If enabled, a dialog will be presented requiring you to confirm a change or delete made to a contact on a shared address book. See Sharing Address Books for more info.
- Detect HTML text in Notes — Detects and preserves rich text/HTML formatting in Notes when present.
- LAN sharing name / Port / Use SSL — Settings used when sharing local address books peer-to-peer over a LAN. See Sharing Contacts for limitations.
- vCard format — The format used when exporting contacts as vCards. Most other apps (like Apple Contacts) support a maximum version of 3.0, so use 3.0 for best compatibility and 4.0 when you need newer vCard features.
- Export notes — Includes Notes when exporting contacts.
- Export photos & attachments — Includes photos and attachments when exporting contacts.

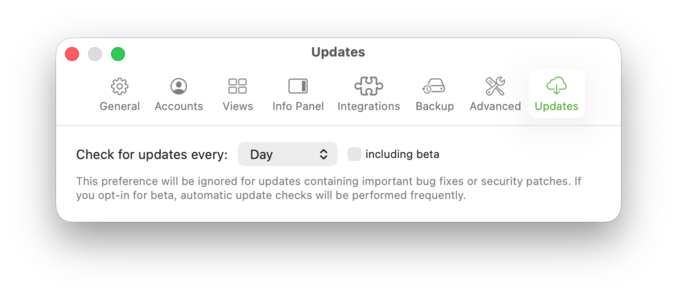
Updates
If you're on the direct version of the app, you will see this additional settings pane where you can choose how often BusyContacts checks for updates and whether to include beta releases. If you're on the Mac App Store or Setapp version, updates are handled through those stores and you may not see this pane.
- Check for updates every — Controls how often BusyContacts automatically checks for updates.
- including beta — If enabled, BusyContacts will include beta releases when checking for updates.
Note: This preference may be ignored for important bug fixes or security patches. If you opt-in to beta, update checks may be performed more frequently.